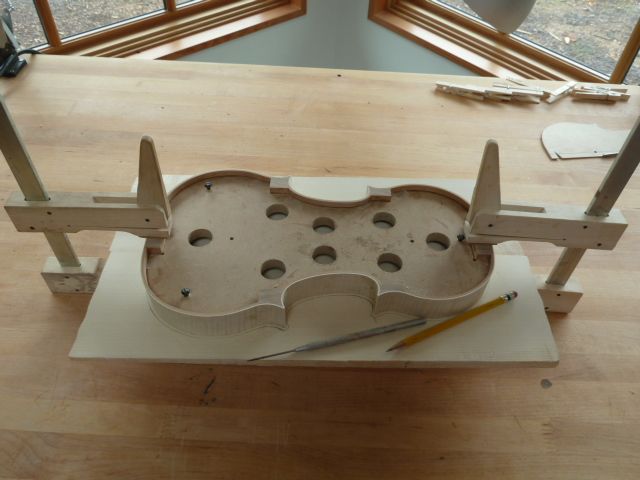
The next step in the process is to make the top plate for the violin. After the two halves of the top are joined, we use the rib assembly to establish the outline of the violin.
I trace around the rib assembly with a washer that offsets the outline by about 3 mm. I then cut out the top just out side of this line. The next steps are to remove a lot of the excess wood by roughing-in the arching. This is followed by forming the outline by just removing the pencil mark and then forming a purfling platform in which to install the purfling. That was the plan. Sometimes things don’t always go according to plan.
As I was removing waste wood a large sap-filled void revealed itself. It was too deep to be removed. There is nothing left to do but start over. As I have left my wood supply back in London, I was in a real bind. Fortunately, there is another violin maker on the island (Towner McLane) who kindly came to my aid by supplying me with another piece of top wood. Violin makers are really nice people!
I proceeded to join the new top. While that dries, I will go ahead and work on the back.


