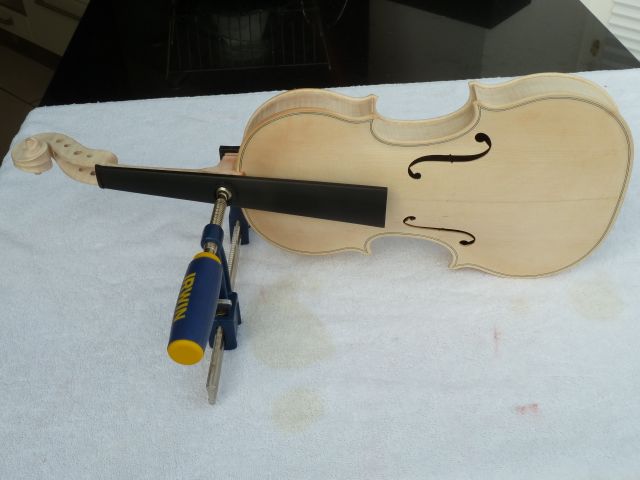
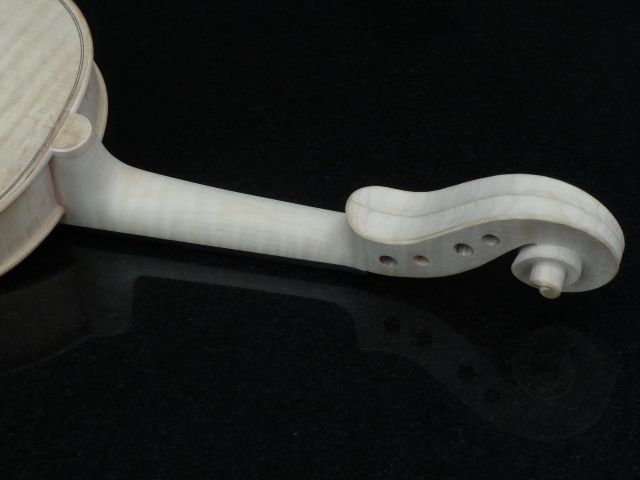
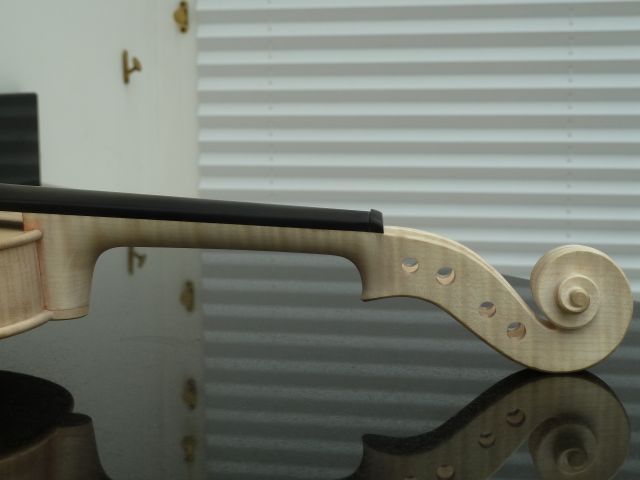
Up until this stage, violin making always feels like you are working on two separate projects, the neck and the body. At this point, we take the two projects and make them one.
Installing the neck is my least favorite part of violin making. Working at the mortice for the neck root, you have to orient the end of the finger board in 3-D space. One cut with the chisel in the mortice can move the end of the fingerboard more than 1mm! It is a painstakingly slow process. Then, after you have carefully fitted everything and triple checked all of the various measurements (neck length, overstand at the neck root, projection to the bridge, orientation of the fingerboard to the axis of the instrument and perfect fit of all glued surfaces) you have to slather glue all over everything, shove it home, clamp it and hope to God (Allah, Budda, Vishnu, or whomever) that you got it right and nothing moved. There is no way to check until you take the clamp off. Then if something is wrong, it is too late.
Fortunately, all went well for The Terry!
I let it dry overnight, had a fitful sleep, and in the morning checked all of the dimensions. Perfect!
At this point we just shape the neck root and the button, finish shaping the neck and clean up the chin.
Tomorrow, we have a birthday!!!


