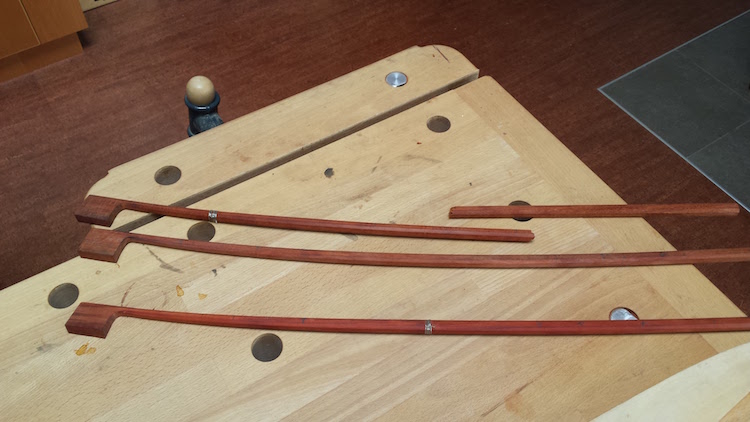
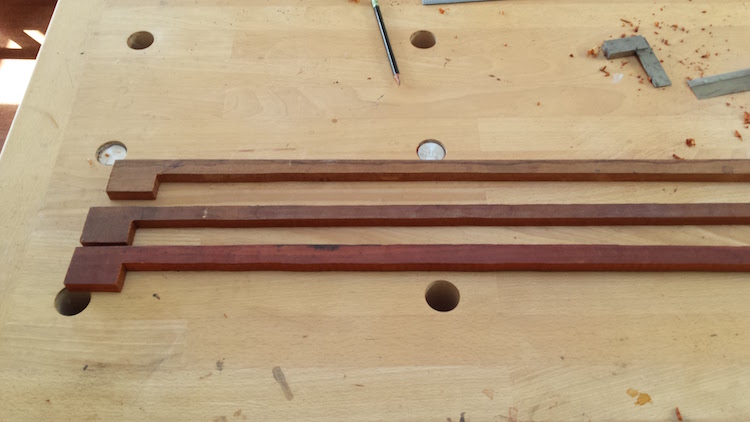
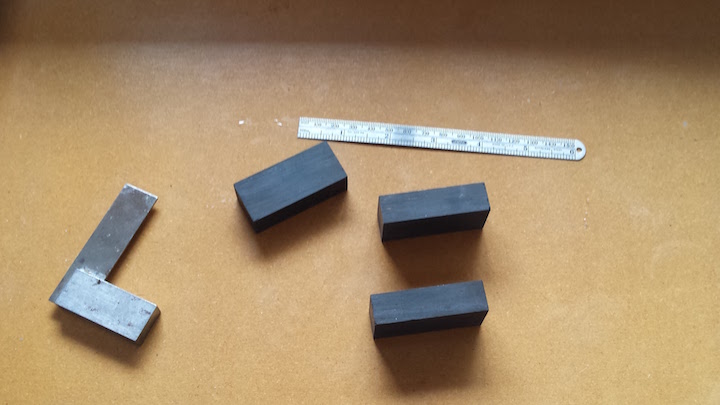
With the sticks bent, the goal now is to get them ready to accept hair. This involves cleaning up the facets, mounting the frog and preparing the head.
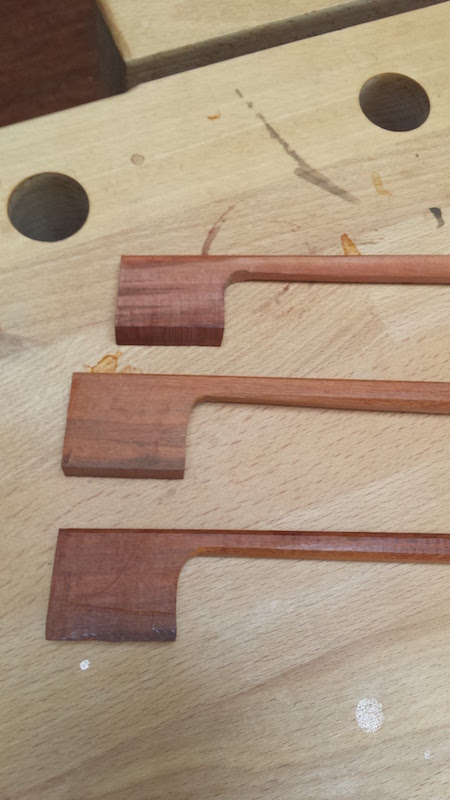
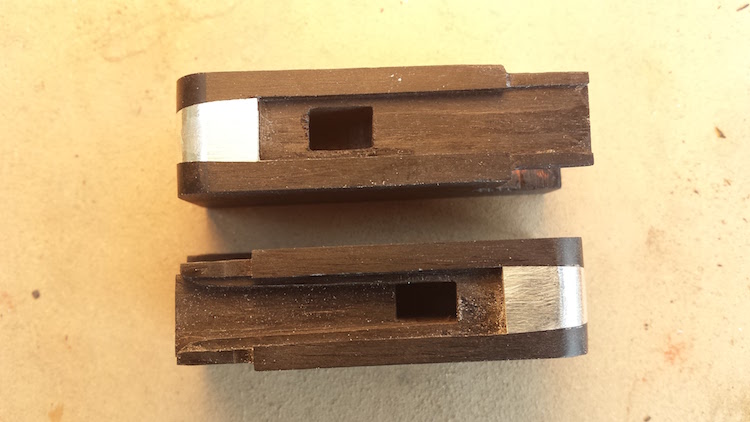
The first step is cleaning up the facets. One of the sticks actually twisted about 5 degrees during bending so those facets will have to be re-cut (this is why we leave a little extra wood on the stick). Next the bottom 3 facets need to be brought to a nearly finished condition. They will need to perfectly accept the frog and be as close to the size of the facets on the button as possible.
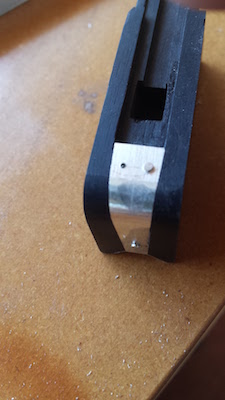
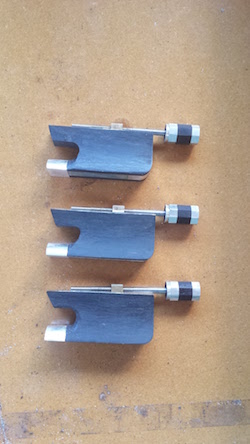
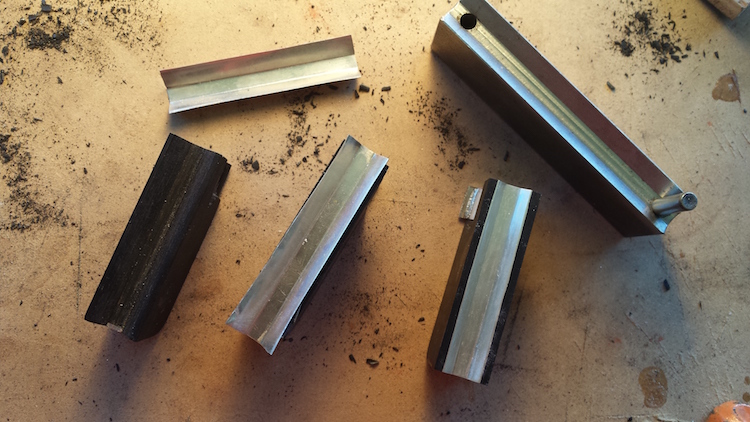
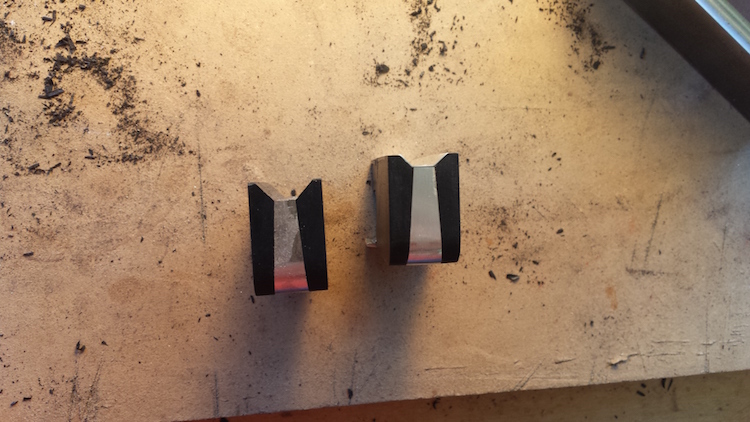
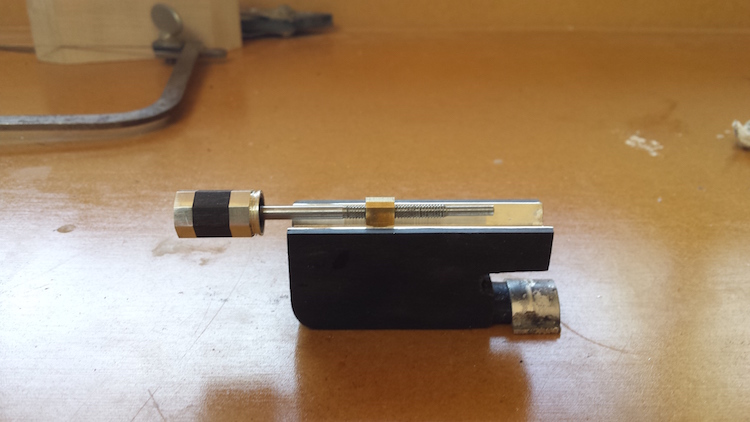
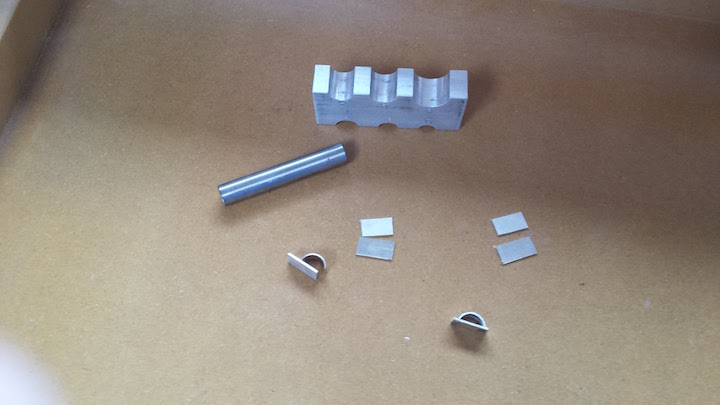
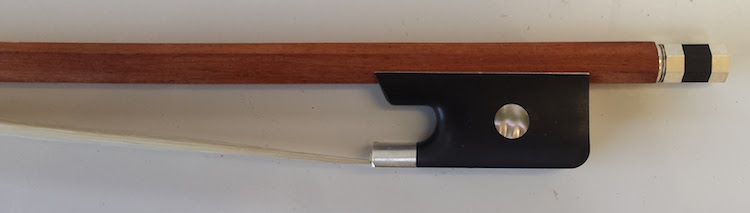
With the bottom 3 facets cleaned up, we drill a hole for the button screw and cut a mortise for the frog eyelet to ride in. The frog can now be installed on the stick.
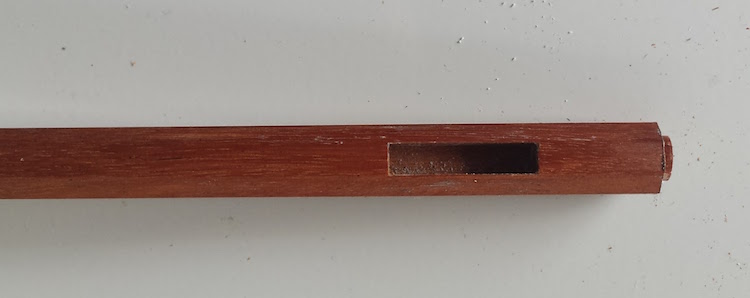
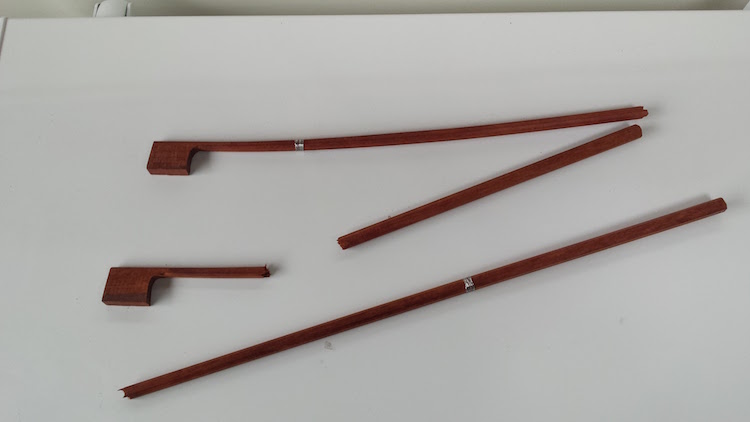
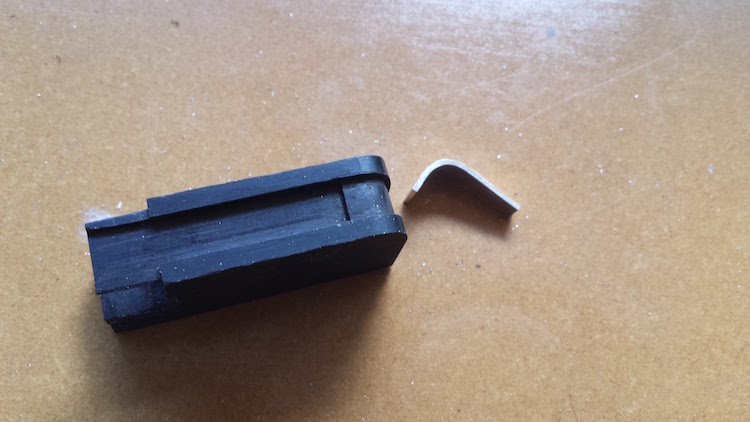
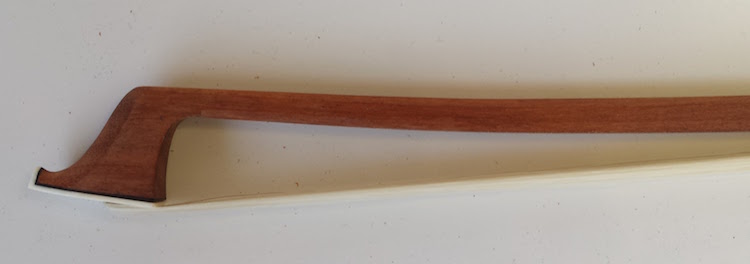
Next, the outline of the head needs to be drawn and cut. The bottom of the head needs to be lined up parallel to the bottom of the frog and then the bone tip glued on. Finally the shape of the head needs to be roughed in and the mortise for the hair in the head needs to be cut.
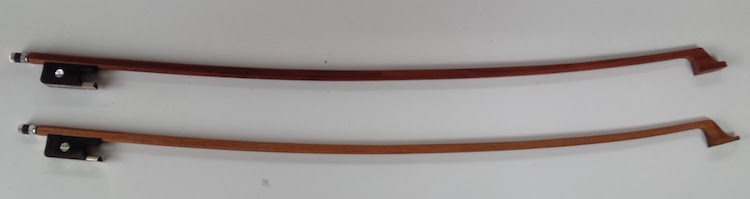
The bottom stick is ready for hair. I need to leave it here and put hair on just the one and go back to New York so Maria can try it.
Haired and ready to go! I don’t have a cello here but I played a violin with this bow. It has a really big sound! Hope Maria agrees.