I am starting a new commission for a cello bow from my friend and cellist Maria Fisher. Maria is relatively new to the cello and is a student of Maxine Neuman. Maxine is a teacher and performer in the New York City area and herself owns a lovely Guadagnini cello.
When I do bow commissions (especially for someone not nearby) I like to make two or three bows with wood of differing speed-of-sound and let the client choose the one that works best for them and their instrument. In this case, since I have never heard Maria’s cello, I will make three.
There are four main parts to a bow. The stick, the hair, the frog (which attaches to the hair near where the hand holds the stick and allows for tightening and loosening the hair), and the decorative button (which attaches to a screw that threads into the frog and moves it up and down the stick).
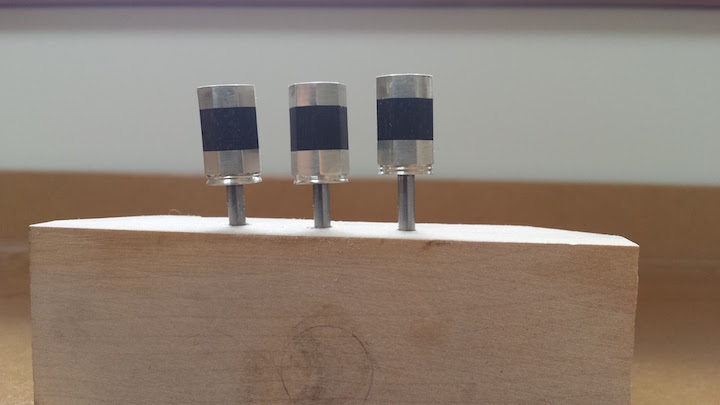
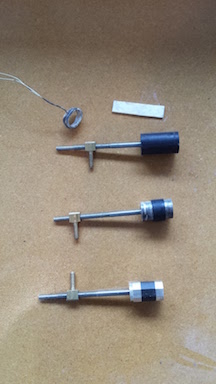
I generally start my bow projects with the buttons. I like making buttons. It involves a little bit of jewelry work and it is the only part of bow making where I use a machine (a lathe). The image below shows buttons in various stages of completion illustrating steps involved (click on it to see a larger view).
- First, I turn an ebony blank on the lathe and attach it to the screw. You can’t see them in this photo but there are recesses turned in each end. On the screw-side there is a recess to receive the little nipple I make on the end of the stick and on the other side is a recess to receive a decorative piece of shell.
- I next cut blanks of metal (sterling silver in this case) bend them into a roughly round shape and solder the seam (you can see the soldered piece held together by the binding wire). I then hammer them onto a round mandrel to make them perfectly round.
- The next step is to turn a shoulder on each end of the ebony blank to receive the rings in a nice press-fit.
- Next, I face each end and turn a little decorative nipple on the screw-side and glue a round piece of shell into the recess on the other side.
- The last step is to file facets on the button making an octagon to match the end of the stick.
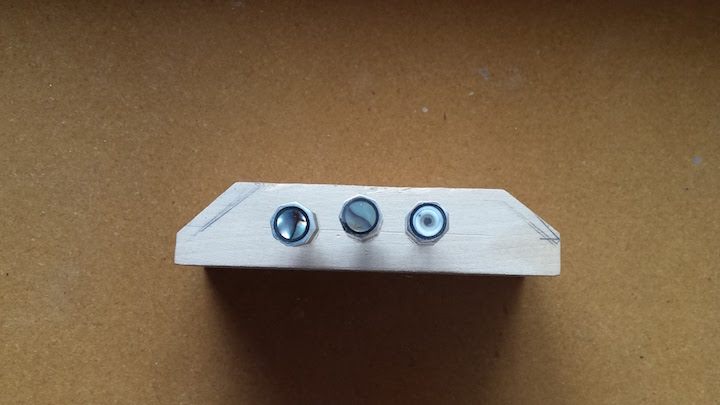
Below is an image of the finished buttons. In the top view notice the shell in the button on the right. It is traditional to use abalone shell but while on a recent kayaking trip to the Baja I found these little shell fragments on the beaches that have a perfect ionic volute structure. I thought it would be an interesting experiment to try one. I like it. We’ll see if Maria does. On to making the frogs.