Now that the plates are tuned, we can cut the f-holes in the top and install the bass bar. This is one of the most critical steps in the making of the instrument. The location, size and shape of the f-holes and the placement and tuning of the bass bar all have a huge impact on the resulting tone of the violin. The Strad 3D Project has a very nice video online where Sam Zygmuntowicz explains the importance of the f-holes. You can watch that video here (It doesn’t always play reliably. If you have problems, just try reloading the page.)
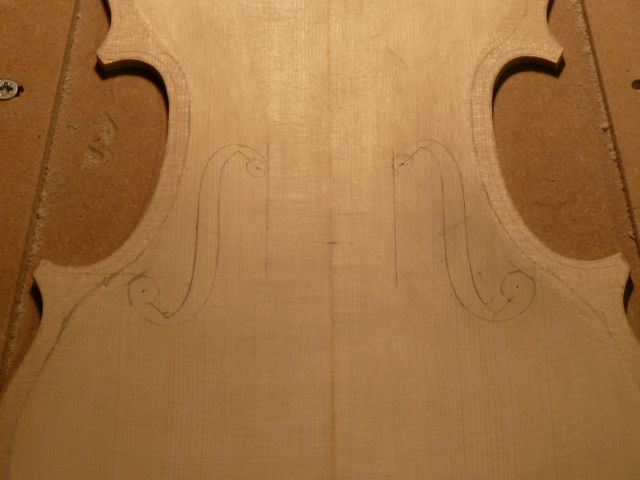
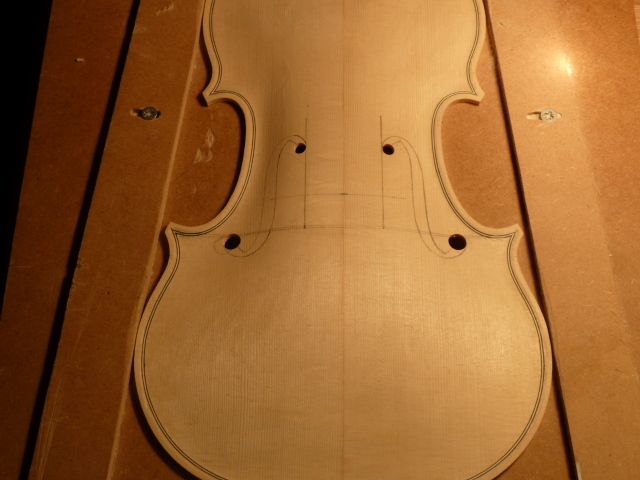
The first step is to locate the f-holes. The violin bridge is 41.5 mm across (at the feet). We want the upper holes of the ff’s to sit just outside the bridge. So we will locate those 21mm off the centerline. The tops of the lower holes are aligned at the lowest part of the ribs in the C-bouts and sit about 12 mm in from the edge. The little knicks in the f-holes mark where the bridge is to be place. For violin, that has been standardized to 195 mm from the top of the plate. The outline of the ff’s I use was taken from The Provigny Strad. Here is a picture of the layout.
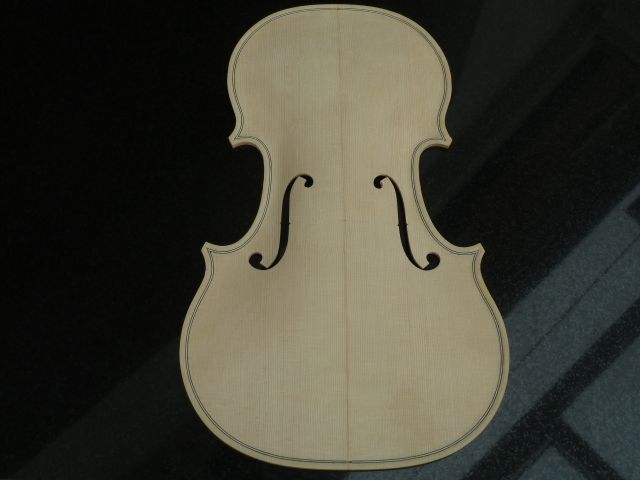
With the ff’s located we can cut the holes and very carefully cut out the shape with very sharp knives.
They came out very nicely if I do say so myself!
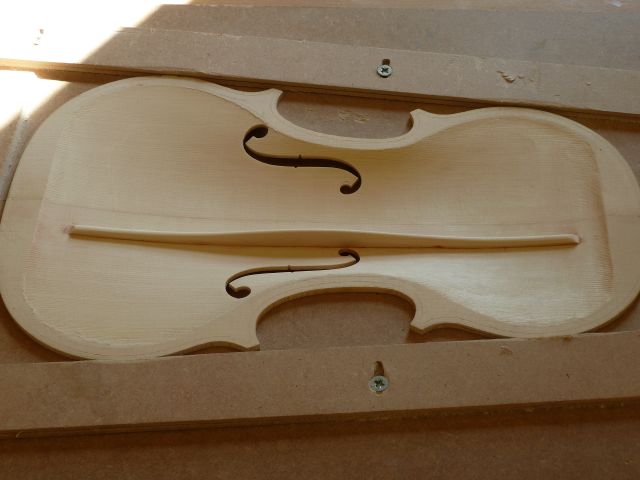
Next comes installation of the bassbar. Again, its location is very critical. We want it just inside the upper hole of the ff’s and it needs to sit about 1-1.5 mm inside the bass foot of the bridge. It also needs to fit the top perfectly it’s entire length. Once it is glued in, it is shaped to free-up the flex a little along its length. As I remove wood I test the flexibility along its length. I also vibrate it to find its resonant frequencies. I typically tune it so that it matches the frequency of the top plate before I cut the ff’s.
The next step is to take the ribs off of the mould and put it all together!


