With the back done, we turn our attention to the top. The steps are the same as for the back.
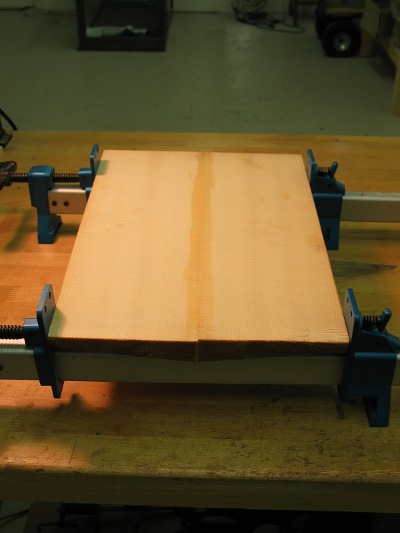
First we glue the pieces together. Again a perfect joint is required.
Next we use the ribs to layout the outline.
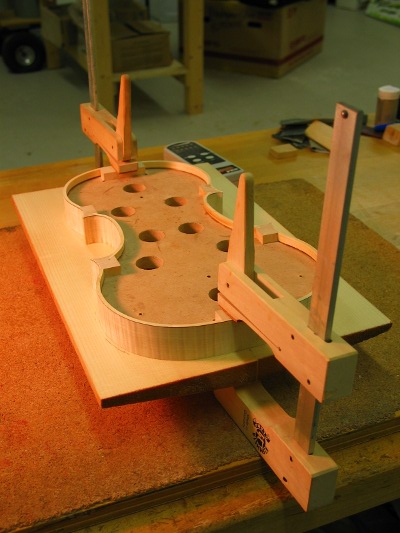
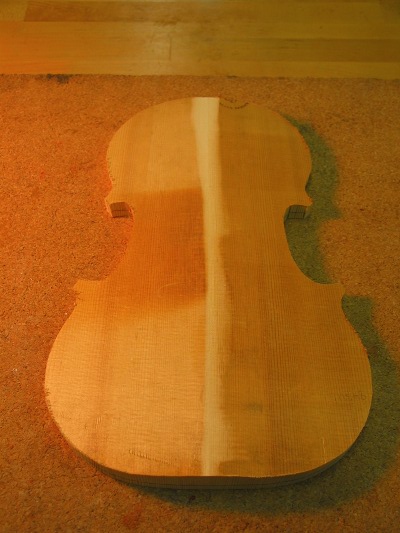
We saw just outside the layout lines.
Rough in the arching.
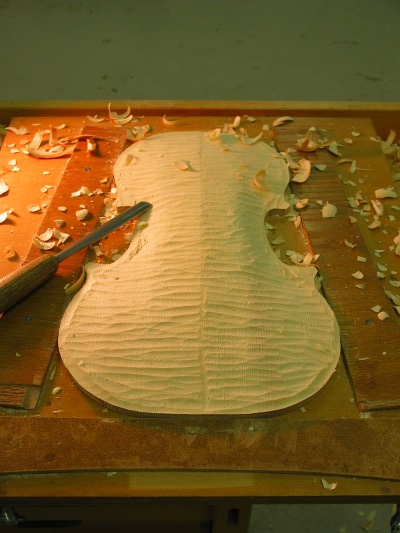
Finish the outline and purfling platform.
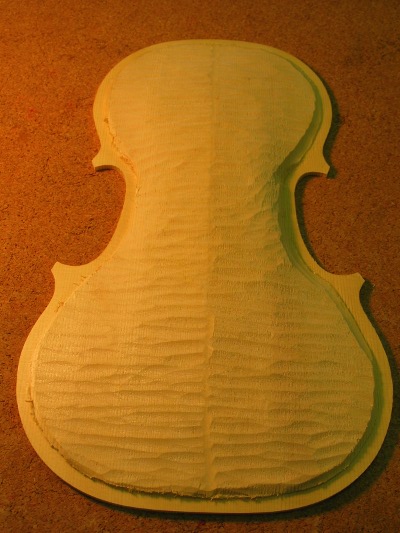
we are now ready to purfle and finish the outside arching.
