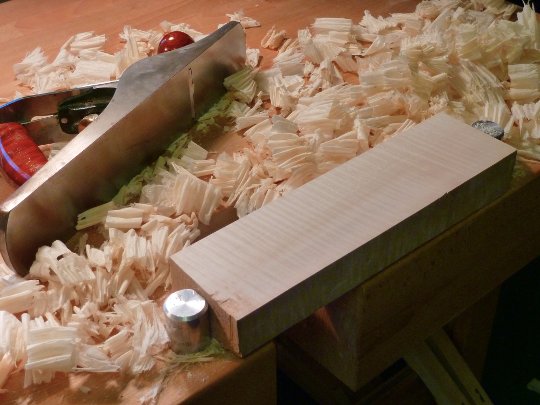
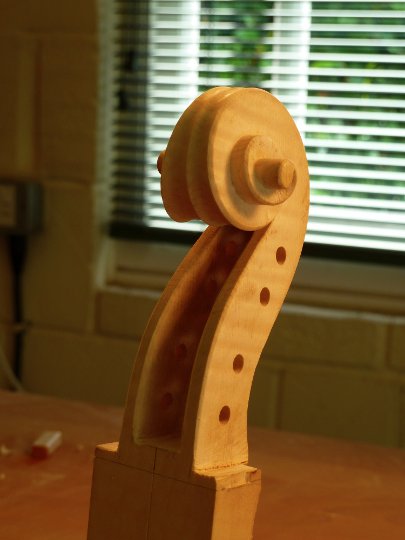
With all of the pieces made and the body assembled, it is time to make a neck for “The Edward”. The first step it to plane the neck block so that the width is 42 mm and the two sides are perfectly perpendicular to the face.
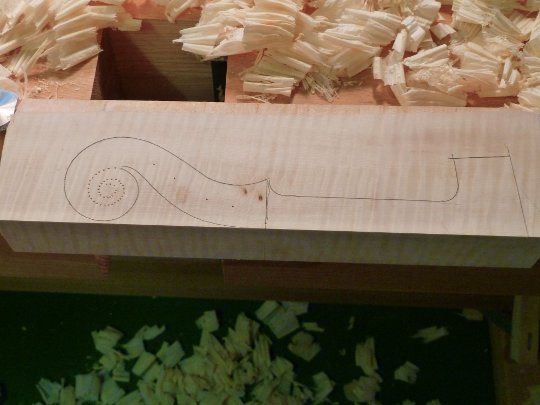
Then using our template we layout the neck on the block.
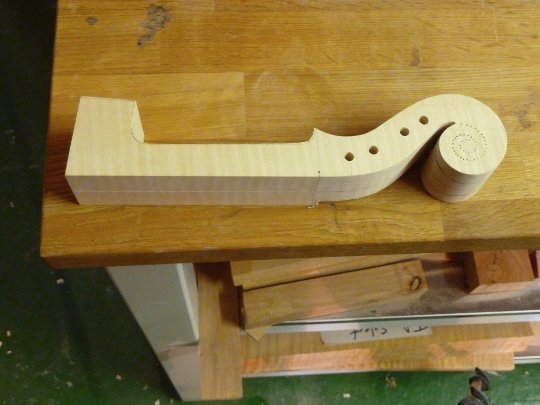
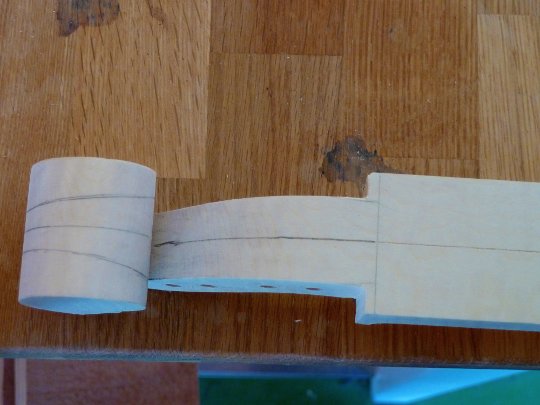
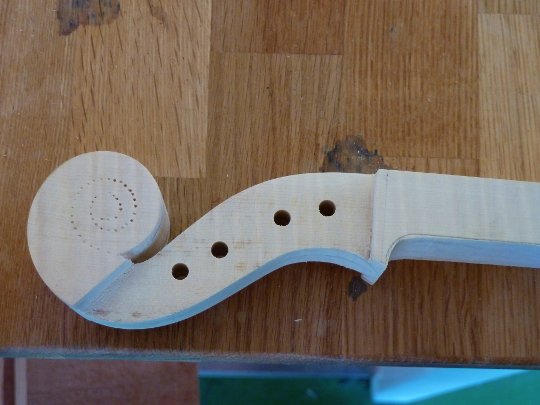
Using the bandsaw and the drill press we cut out the outline of the neck and drill the peg holes. Using knives, chisels and files we clean up the cut-out. We are now ready to carve the scroll.
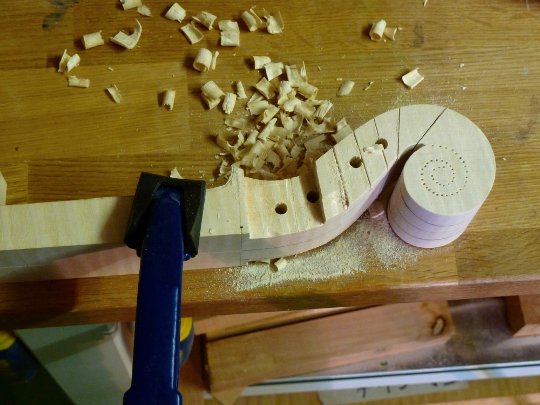
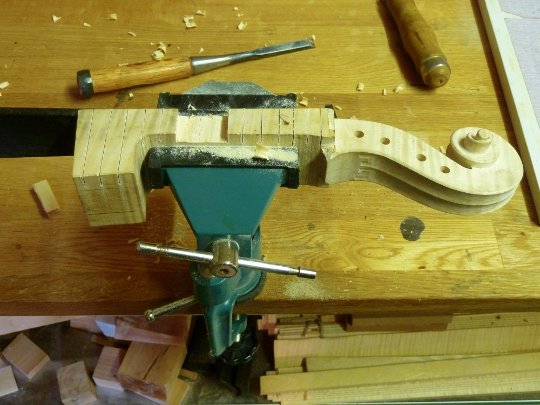
The first step is to remove the waste on the outside of the peg box. We first use a saw and chisel to remove the waste wood.
Then the whole thing is then cleaned up to the line.
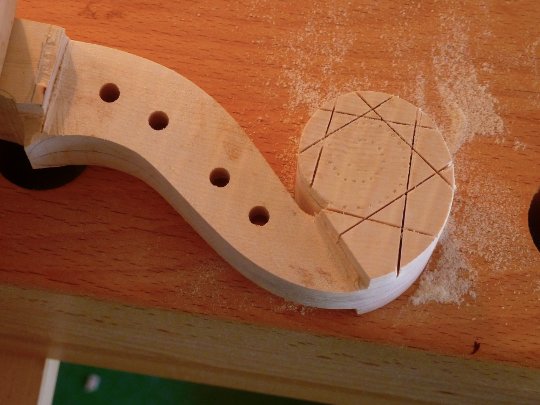
The next step is to carve the first turn of the scroll. We do this by using a saw and chisel to remove the waste.
We clean this up to the line and do the same thing for the second turn.
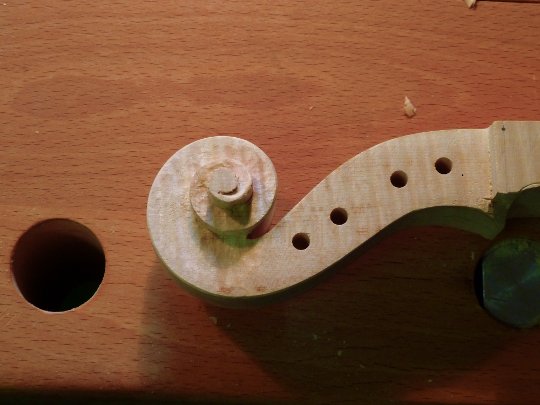
Finally, we under-cut the volute, complete the inside of the peg box and flute the scroll. The scroll is now complete and we are redy to finish off the neck.
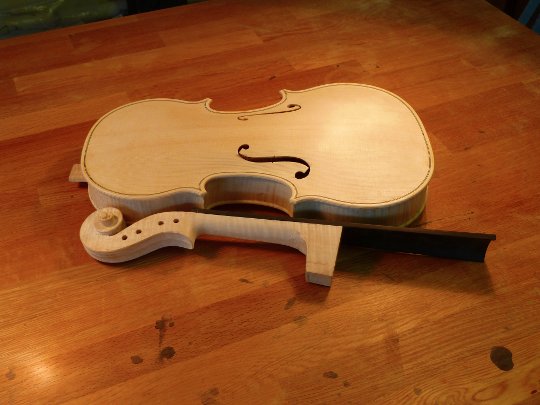
The last step is to prepare and attach a fingerboard and nut and remove the waste wood from the neck.
We can’t completely finish the neck until after it is attached to the body but we can shape most of the neck and finish off the chin of the scroll. We are now ready to attach the neck to the body.

