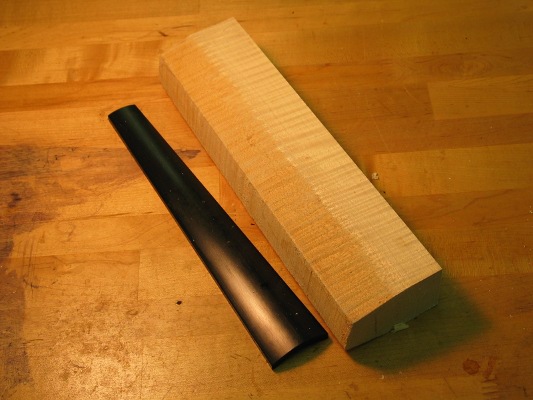
With the corpus finished, we are ready to make and install a neck. We start with the raw material, a neck block and finger board.
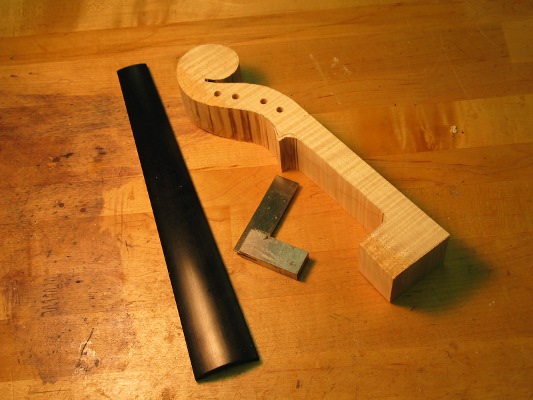
We first use a template to trace the shape of the neck on the neck block. We cut out the shape and drill the peg holes.
Next we pare away the excess wood around the pegbox cheeks.
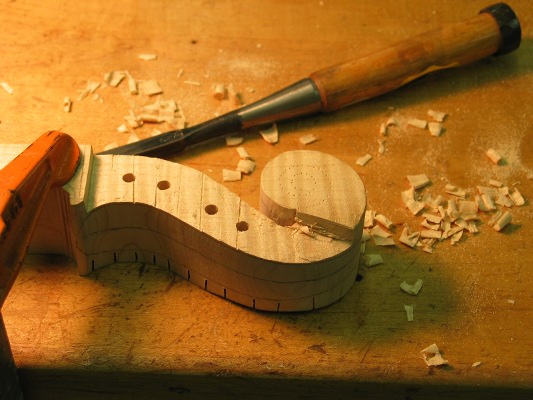
Then we carve the first turn of the scroll.
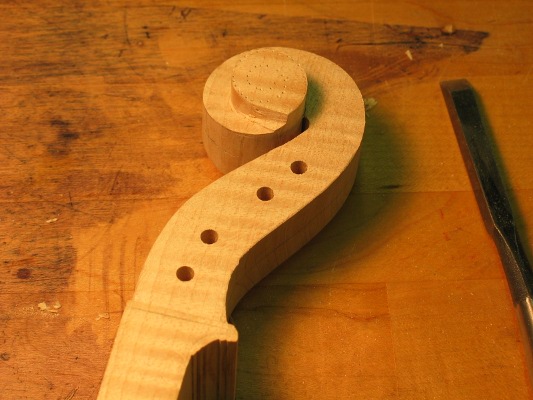
Then we carve the second turn.
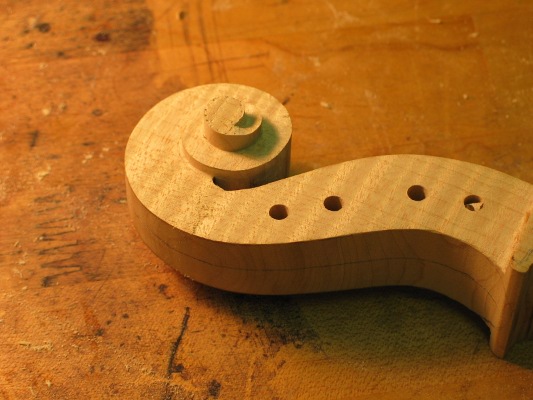
Now we undercut the scroll, carve the volute and pegbox. Clean everything up and glue on the fingerboard.
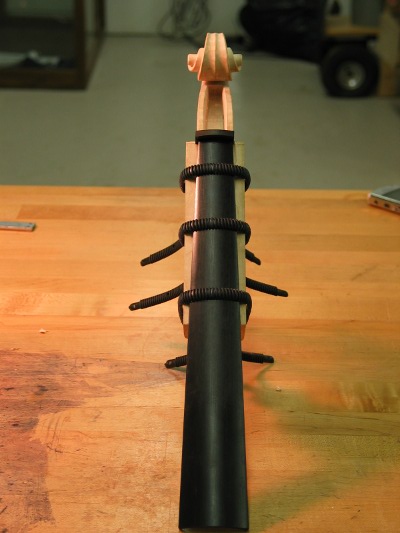
There is a lot of excess wood that needs to be removed and the neck needs to be shaped. It is now ready to install on the corpus.
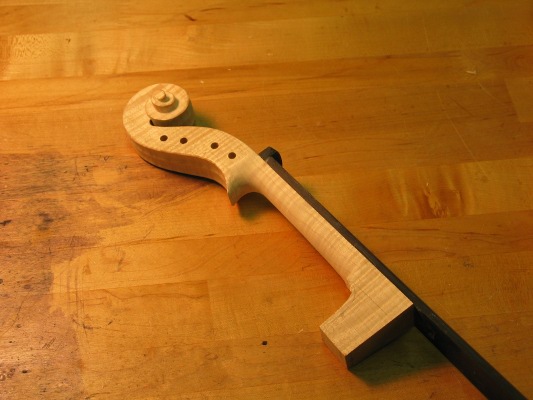
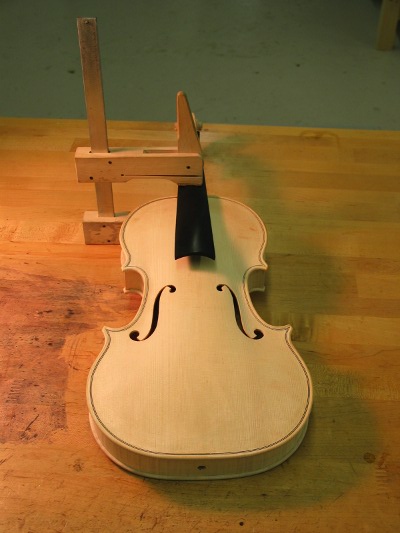
A mortice is cut in the corpus for the neck. This is the most exacting task in violin making. All dimensions are very critical to the function of the instrument.
We now do the final shaping of the button, heel and chin.
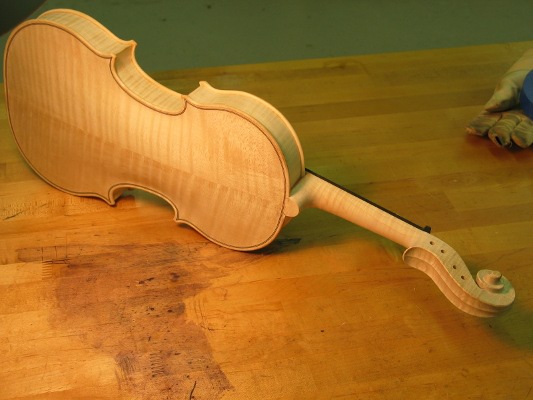
We are now ready to clean everything up and setup the violin for playing!
