The next step with the rib assembly is to install the linings. The linings provide additional strength to the ribs and also provide a larger gluing surface for the top and back. When completed the rib assembly will be quite flexible yet amazingly strong.
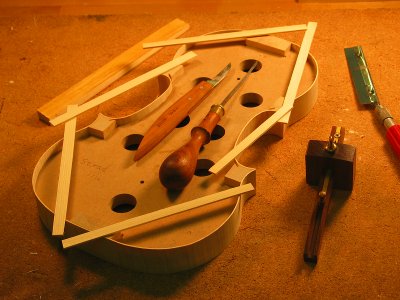
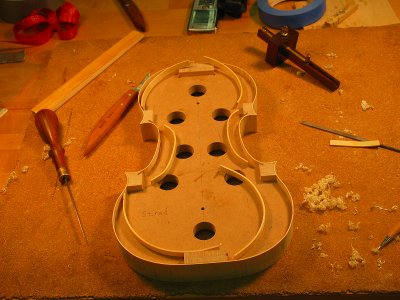
To begin the process, I split pieces of straight-grained spruce and plane the pieces to a dimension of 2mm thick and 8mm wide. The lengths are left oversized. I also cut mortices into the blocks to accept the c-linings. The other linings will just have butt joints to the blocks.

The next step is to bend the linings and trim them to length. Bending is quite easily accomplished using a hot bending iron and a little steam. The shape must exactly fit the outline so that there is little to no tension introduced. The trimming to length has to be exact and is best approached slowly.

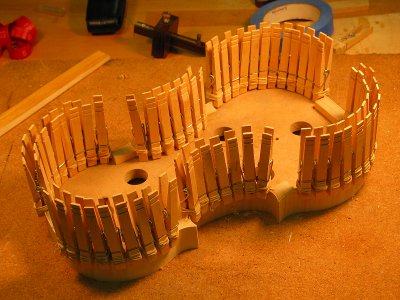
The linings are now glued into place. The ribs and linings are glue-sized and then glued into place. The clamps are just clothes-pins re-enforced with rubber bands. The linings are just slightly proud of the ribs. The whole assembly will be flattened on a shooting board.

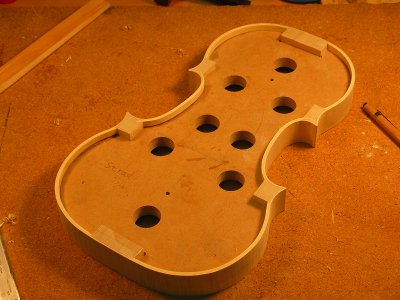
The finished rib assembly. Next we make the back.

