
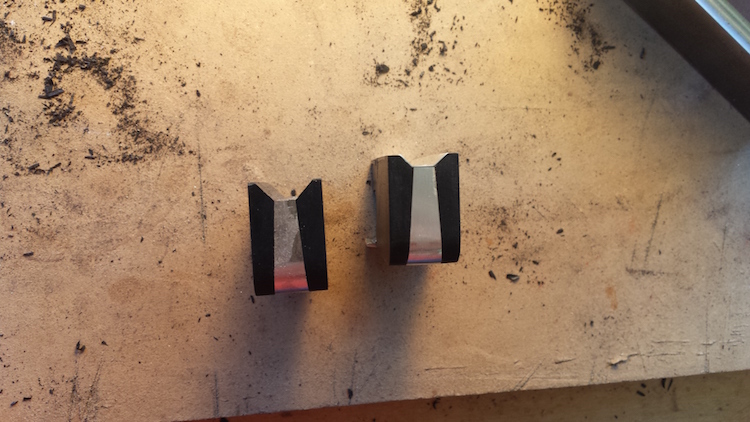
The next step in making the frogs is to install the metal under-slide. Three facets of an octagon must be carved into the ebony frog. The bottom 3 facets of the bow will ride in this part of the frog as the hair is tightened and loosened. The frog and the bow stick must match here perfectly. When fitting the frog to the stick I use lots of chalk to adjust the fit so that it is perfect. The more accurate I make this part of the frog, the easier that task will be.
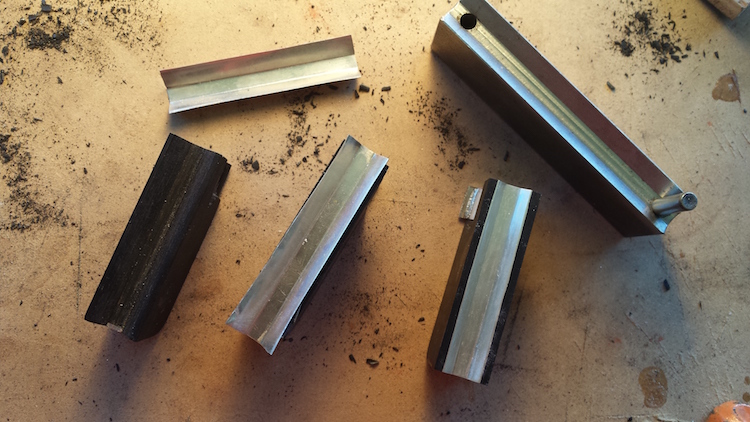
The photo below shows the steps involved. I first cut out rectangles of very thin silver (32 gauge) and form them with a metal form to correspond to 3 facets of and octagon. The purposed of the metal is to provide structural reinforcement for the delicate ebony. This silver plate is then glued into the carved ebony recess and then trimmed and filed flush.
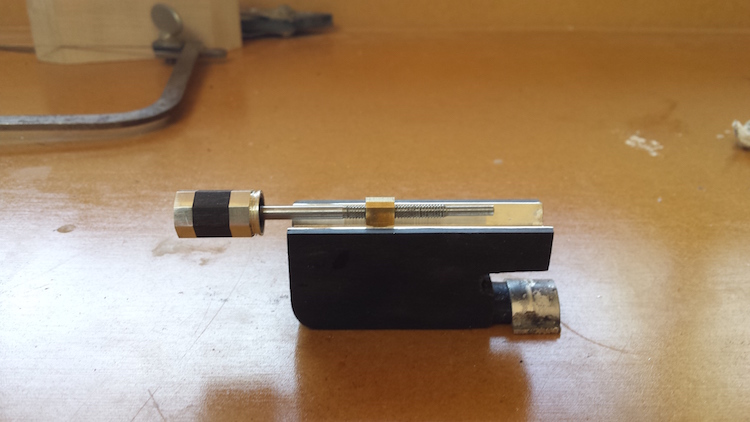
The next step is to drill and tap a screw hole for the brass screw that will hold the button. This hole must be perfectly in the center of the bottom facet and in this case 19 mm from the back edge. The photos below show the finished result.
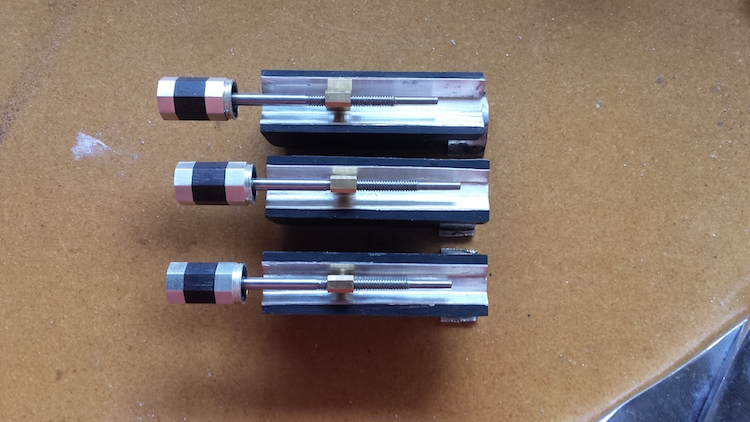
The next steps for the frogs is to pin all of the silver and then shape the frogs to their final shape. I seem to be out of pinning silver so while I wait for new silver to arrive, I will start the sticks.